My video on Linux was made to the best of my ability at the time.
But, I was a Linux baby!  I now consider myself fairly experienced with running The Sims 2 on Linux, however…
I am still not a Linux expert!
I have a lot more experience, understanding and knowledge of Linux now. I have a fairly good grasp on what to do when things go wrong, but there are many people way more skilled and knowledgeable than me.
I am also mostly only experienced with Linux Mint. I have used generic Ubuntu and didn’t mind it, but other Distros like Fedora or CatchyOS etc I have zero experience with. Thus my advice is for Mint users, until I maybe branch out into other Distros some day.
Below I am going to share with you all some updated advice to the process I shared in this video, with the aim of:
- Making your Linux experience easier and smoother
- Helping you to understand more about Linux in general – how to use it, what everything means and where everything is.
- Correcting some mistakes and outdated advice I shared in the video.
I also want to share a warning* that I have to be clear on: Linux is built for the slightly more tech-savvy.
Is Linux “hard” to use? No, and in general I honestly prefer it over Windows. But is it sometimes difficult to get things to work on Linux that were not designed to work on Linux? Yes. Including The Sims 2.
The terminal can be a little scary at first. If you want to use Linux, be ready to put on your thinking hat and problem solving gloves sometimes.
.Luckily, help is out there!
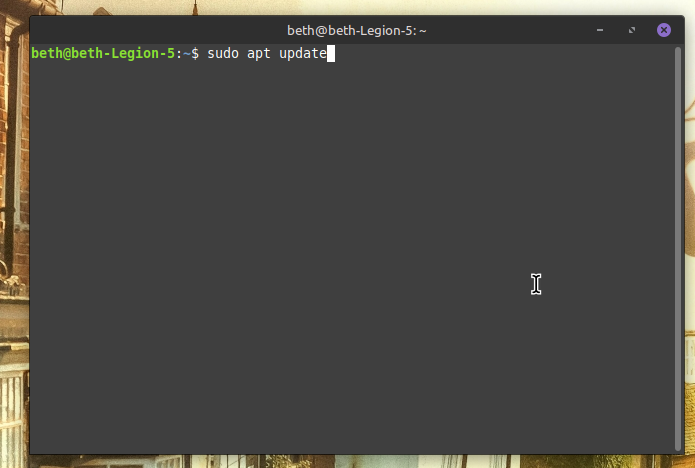
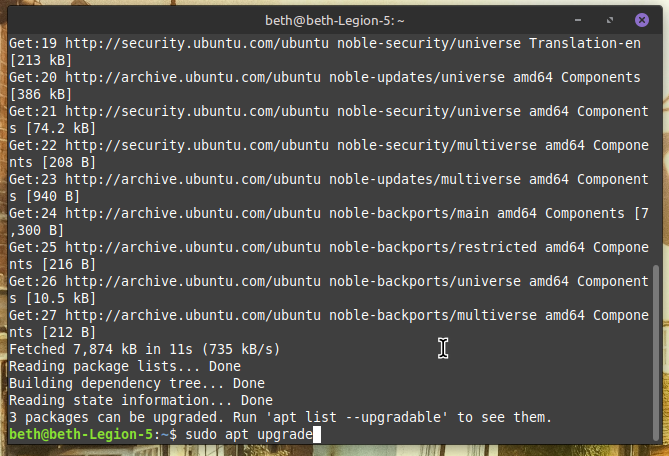
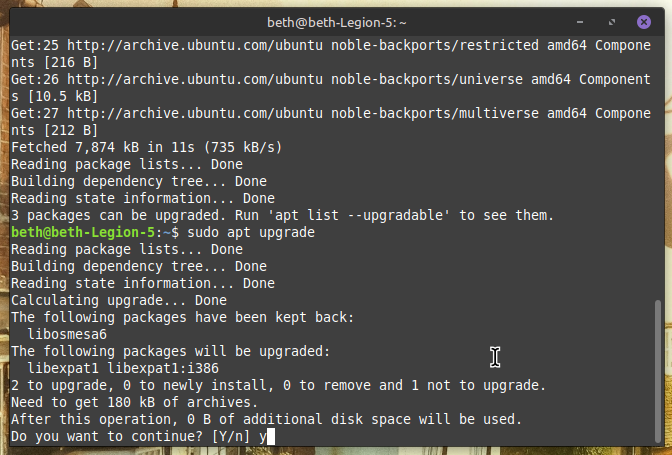
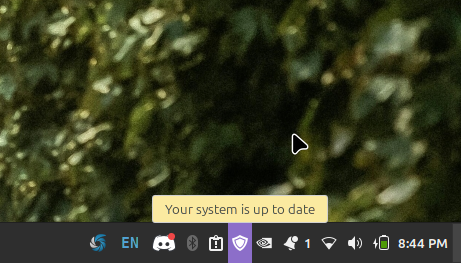
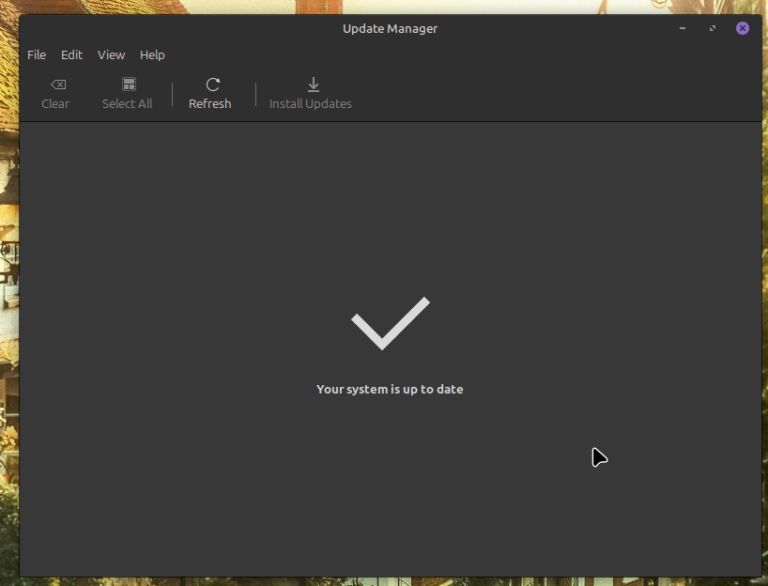
Keeping Linux up-to-date


The Linux Version of Things


Which Lutris to Use
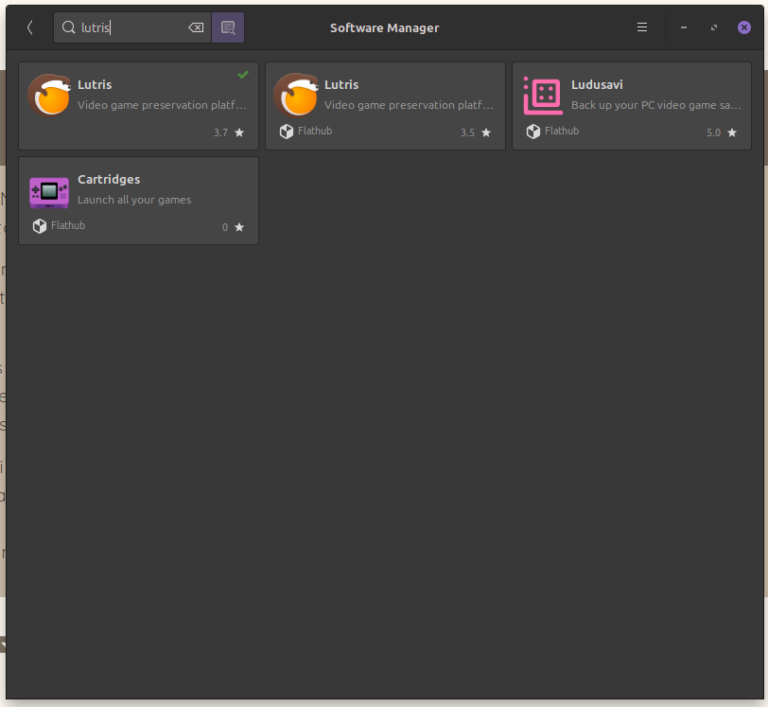
In my video, I talk about going into the Software Manager and choosing one of the versions of Lutris from within there to install, even going so far as to recommend one version over another.
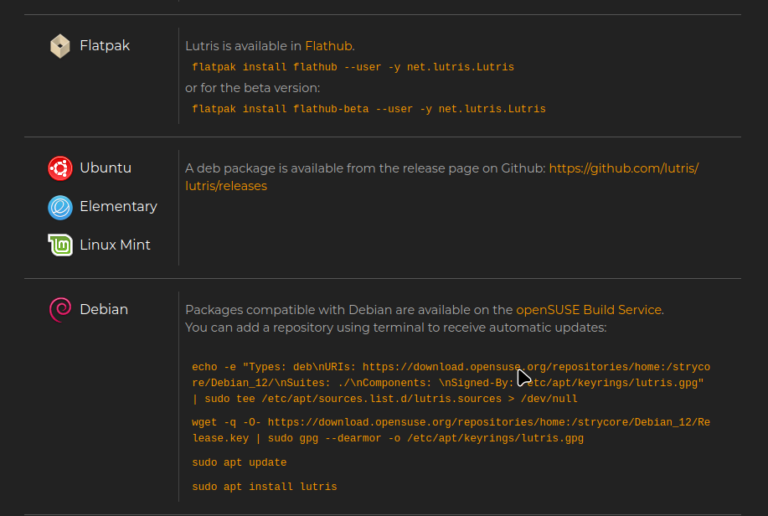
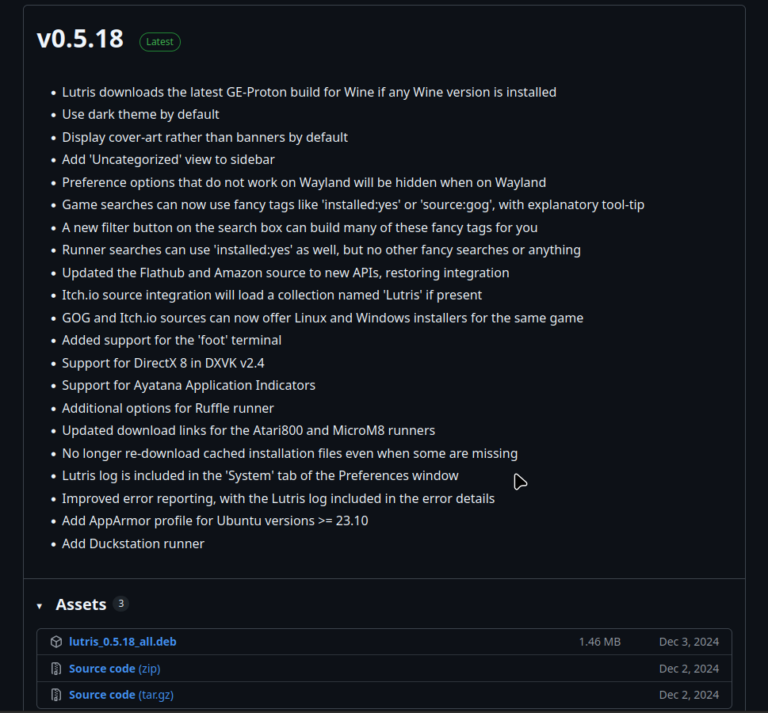
I now recommend downloading Lutris directly from the GitHub source, linked on the official Lutris download page. If you’re on a different Linux OS than Mint, make sure to follow the instructions that are correct for your distro.
This is because I have found that certain features don’t fully work, or work as intended, with the Software Manager version (also known as the “Flatpack” version) and that updates to Lutris can break your Wine Prefixes more easily when using the Flatpack version, which is a pain to fix.
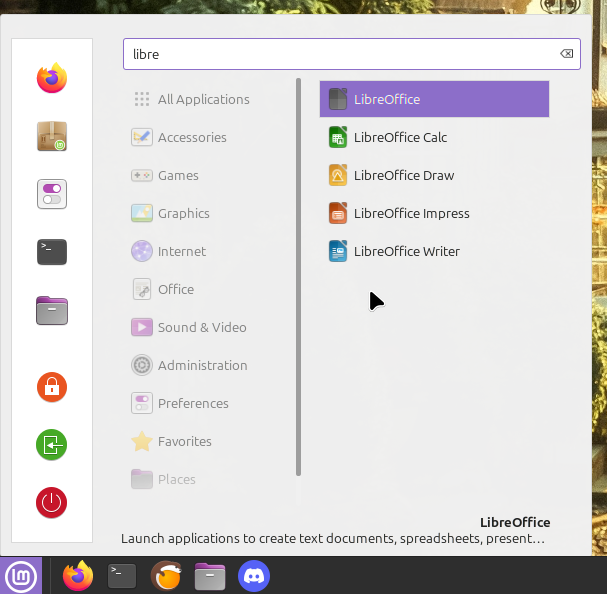
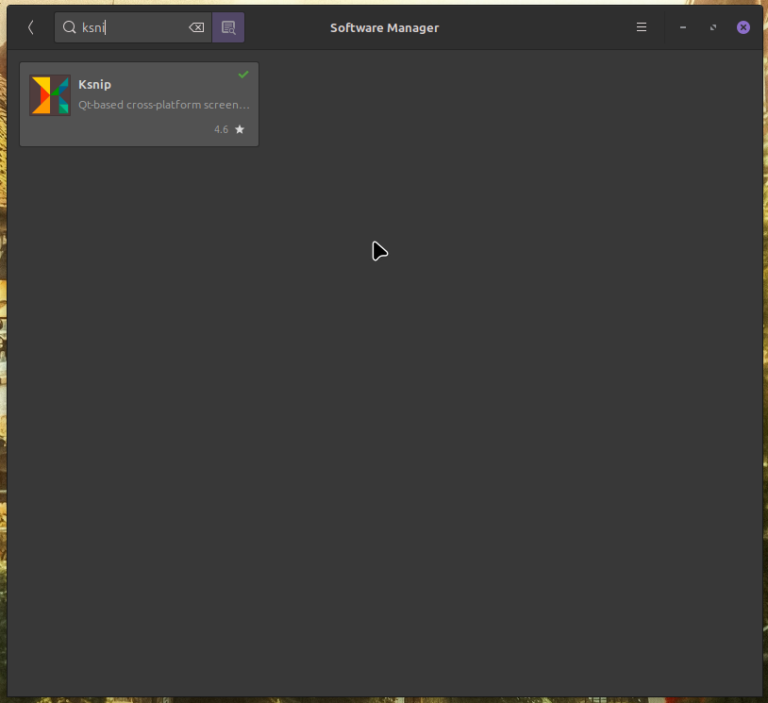
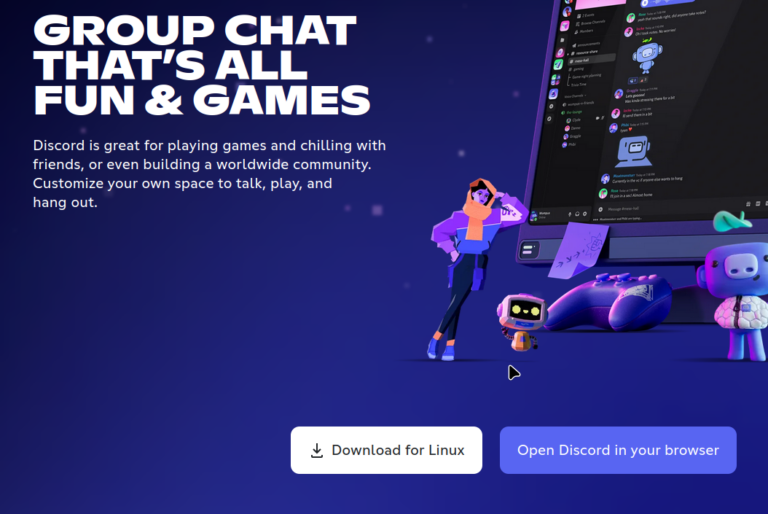
On that note, when installing Discord onto your Linux system, I also recommend downloading directly from the source and not using the Software Manager version of Discord. I particularly noticed that with the Flatpack version from the Software Manager, I wasn’t able to drag and drop files into Discord for sharing, which for me was extremely annoying, since I’m usually sharing files constantly 
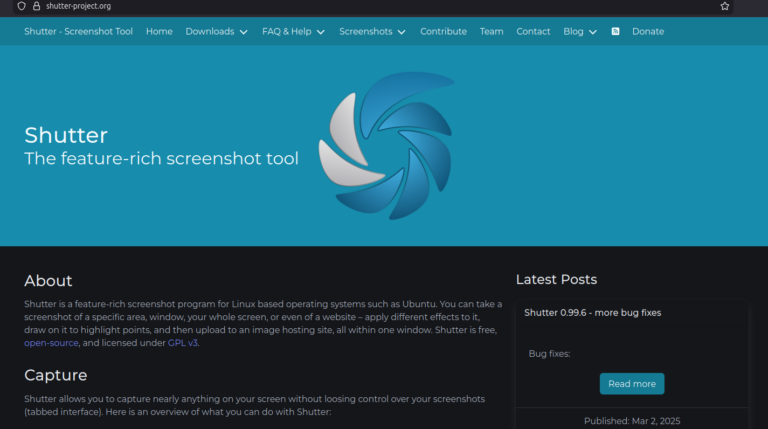
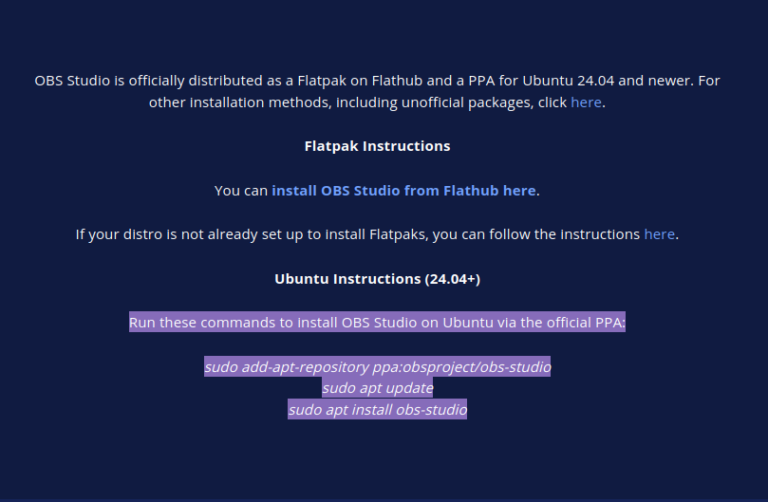
For anyone who wants to film videos or Livestream, I also recommend looking up how to get OBS directly from the source, and not using the Flatpack version – for similar reasons. Features don’t seem to be fully implemented or up to date in the Flatpack version of OBS.
The Curious Case of GE-Proton
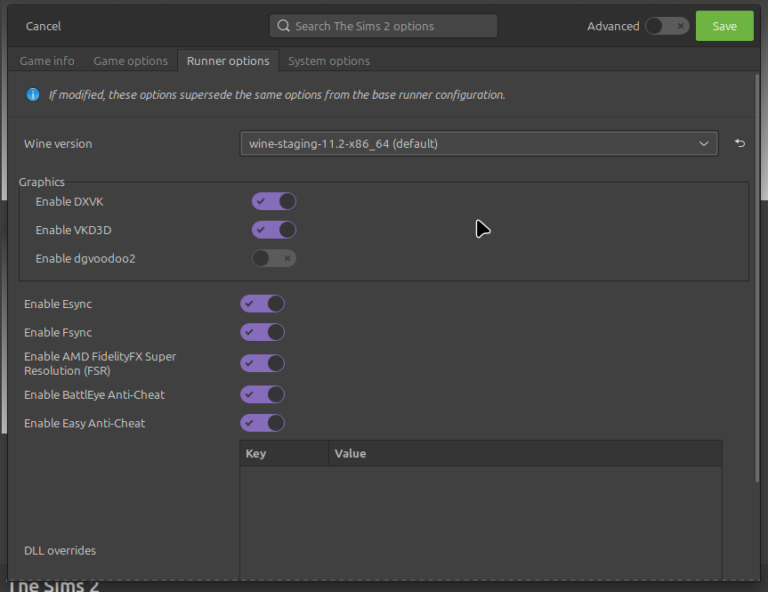
In the video I mention that GE-Proton tends to run The Sims 2 better than Wine.
So firstly, let’s talk briefly about “runners”, to refresh your memory: A “runner” is kind of like an “emulator”, in very loose terms. It is the platform that enables programs that were designed to run on Windows to run on Linux. If a program is designed to run on Linux AND windows, we call that running “natively” on Linux – i.e. a runner or compatibility tool is not required. Discord, Steam, Blender, OBS, and other video games can all run natively on Linux.
GE-Proton should be downloaded and installed when Lutris is installed. Sometimes this happens instantly, sometimes it happens after a reboot, sometimes it happens after a day or two. I still have no idea why But I do have a way around it.
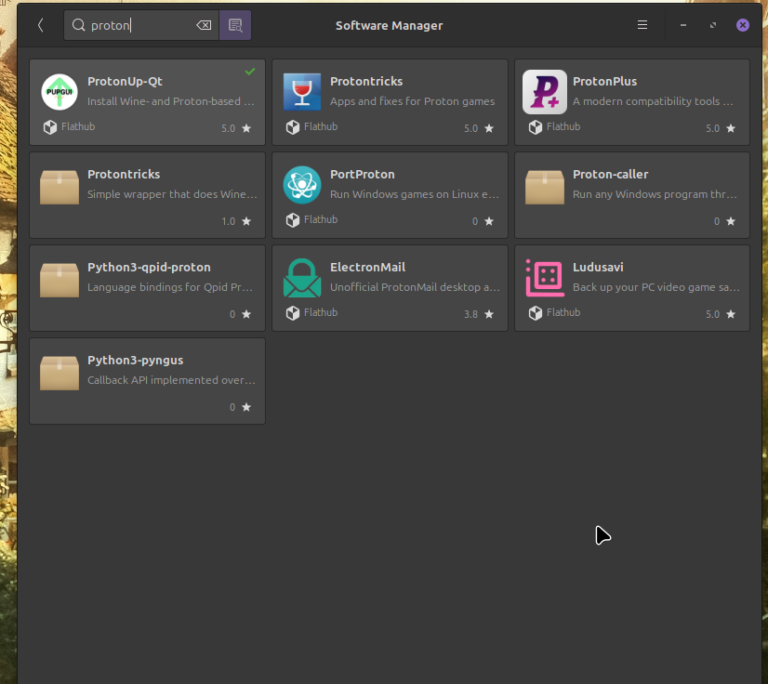
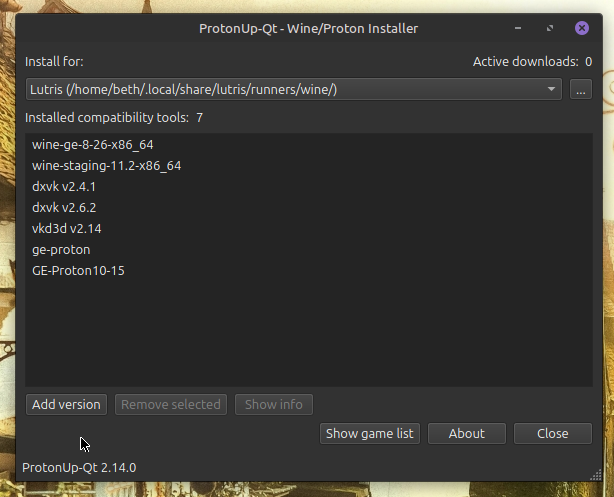
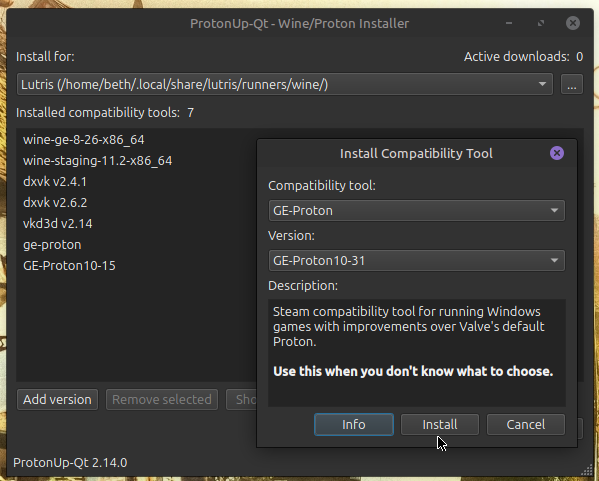
From the Software Manager, you can grab a nifty tool called “ProtonUp-Qt” and use this to install an up-to-date version of Proton to use with Lutris. Simply install and open the program, make sure Lutris is selected in the top menu “Install for” (this can also be used with Steam), and click the “Add version” button at the bottom of the window.
You can then choose any version of Proton to install – just leave it set to the latest version if you’re not sure which one to grab!
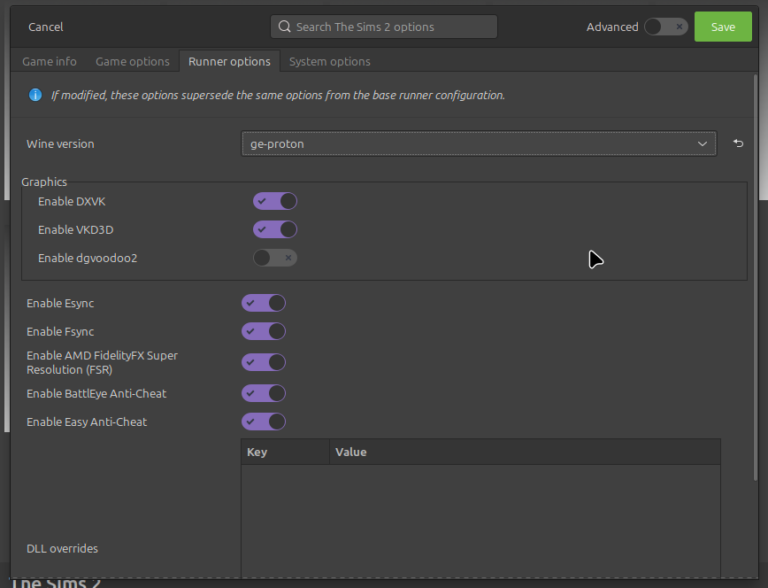
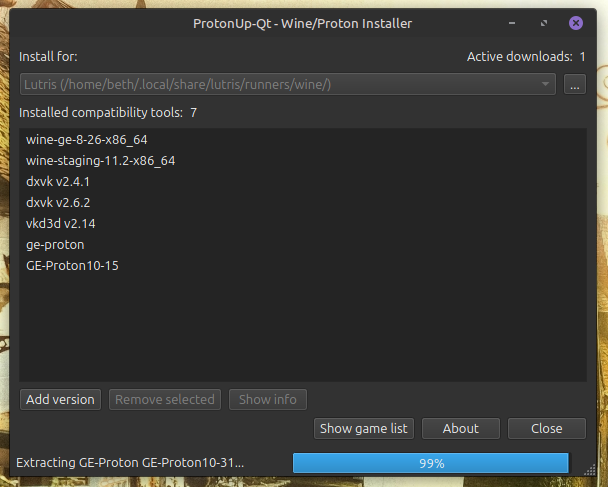
This will take a moment to install, and often hangs at 99%. Once it is finished, reboot and re-open Lutris, and you should now have the option of using a version of Proton as the runner for The Sims 2.
Happy game, happy days!


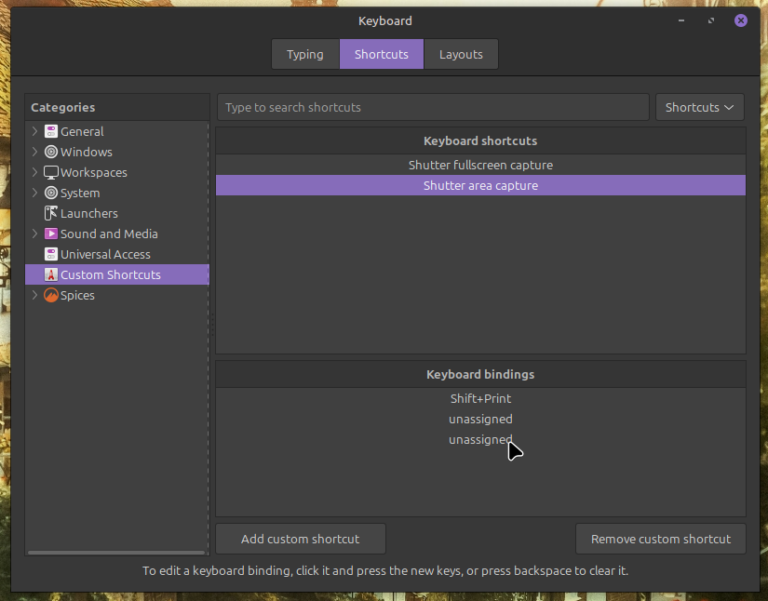
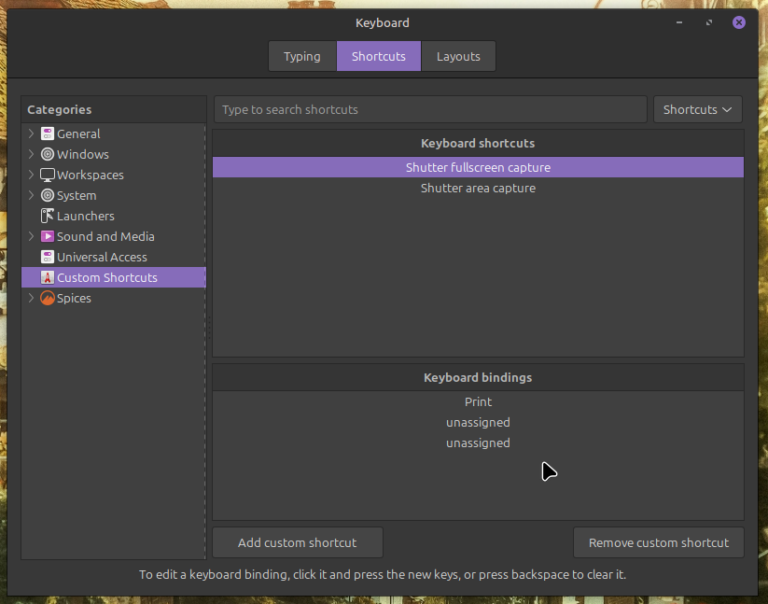
Fixing Screen Tearing
You may notice cases of the screen “rippling” or “tearing” when playing on Linux, particularly if you are screen-sharing in any way (for example Discord, or streaming with OBS) if you have an NVIDIA graphics card.
Here’s a quick tutorial on how myself and a member of my Discord, SimmyMom, worked out how to stop this from happening:
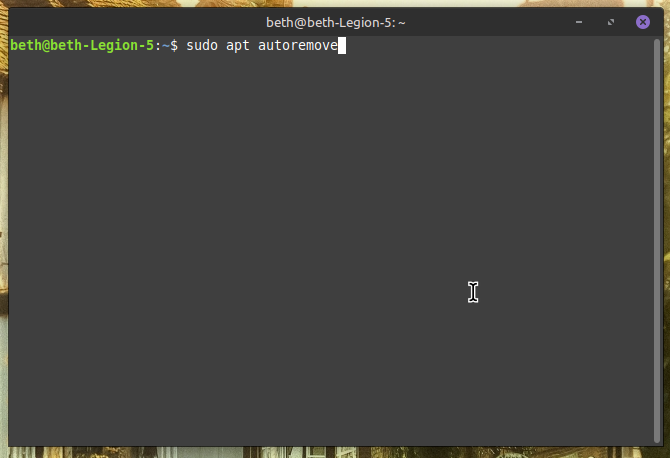
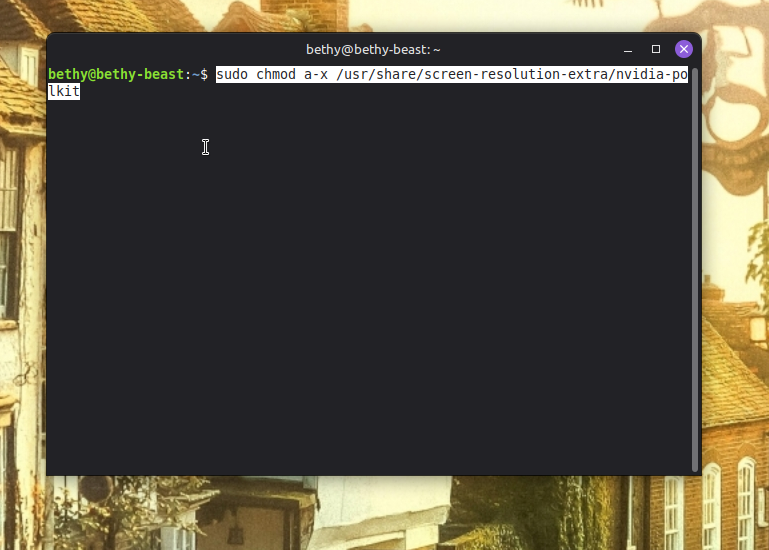
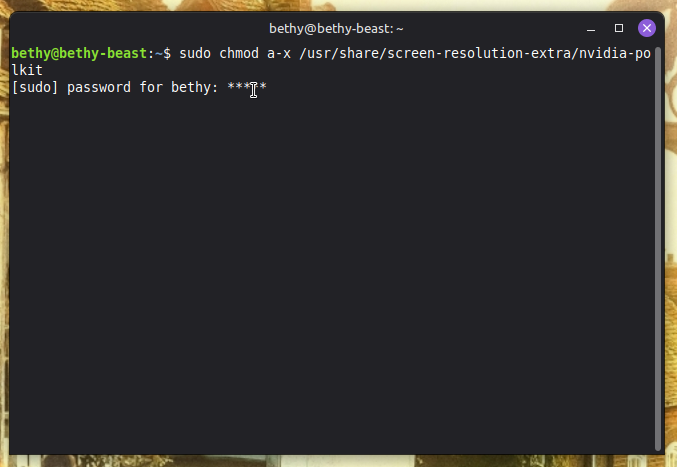
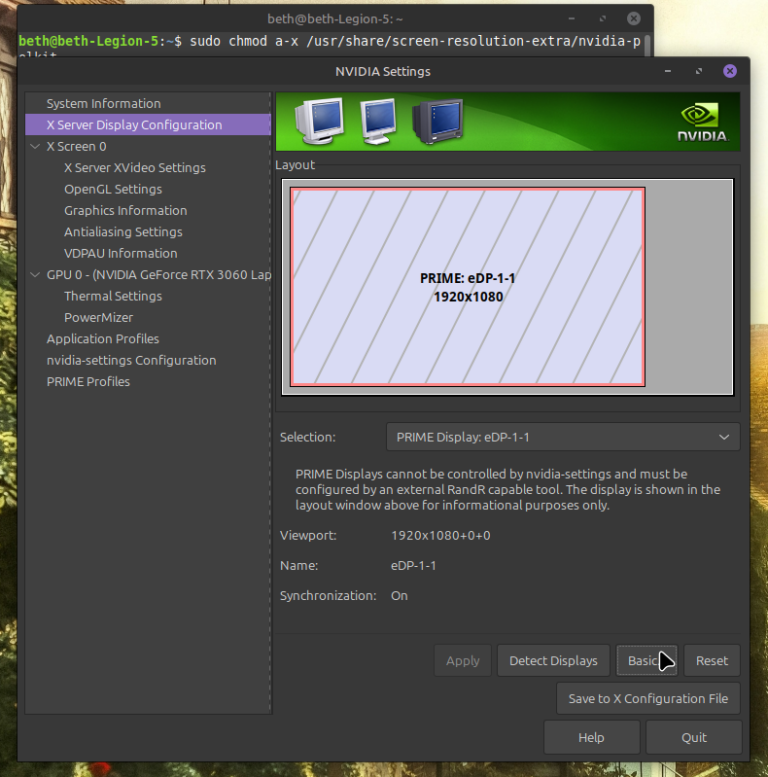
Open a Terminal and enter: “sudo chmod a-x /usr/share/screen-resolution-extra/nvidia-polkit” (remove quotation marks)
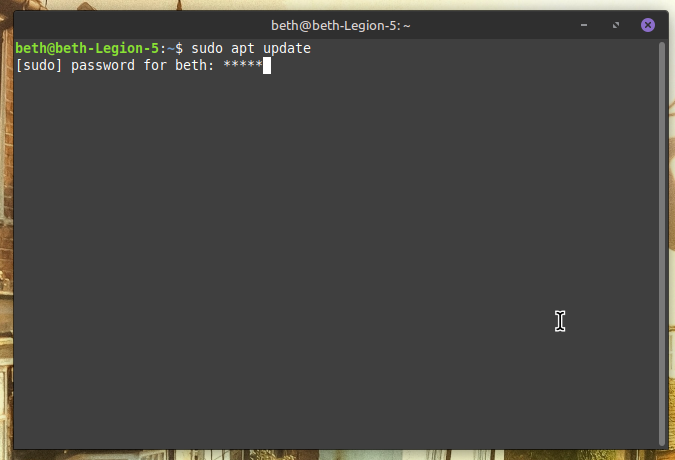
Enter your password to continue. Nothing will happen – that is okay! The sudo chmod command here means we are going to be editing and saving a config file on an administrative level, whereas on a user level we only have “read-only” access.
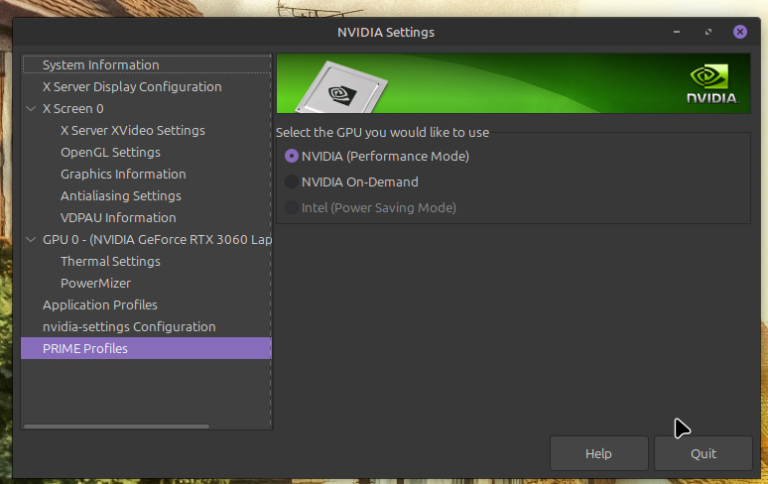
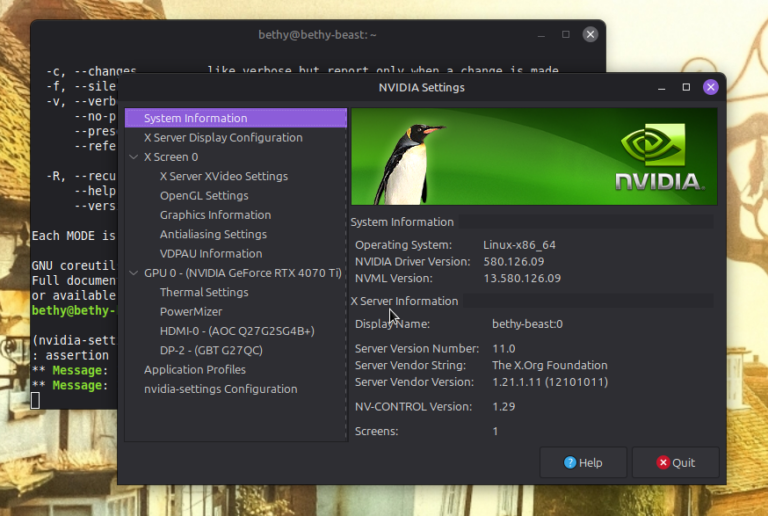
Next enter: “sudo nvidia-settings” (remove quotation marks) and NVIDIA control panel window will open
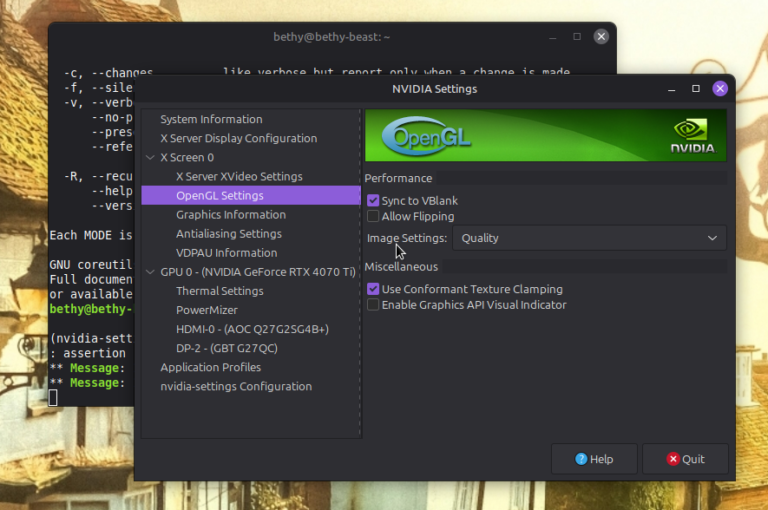
Go to “Open GL Settings” in the left-hand menu, and un-tick “Allow Flipping”
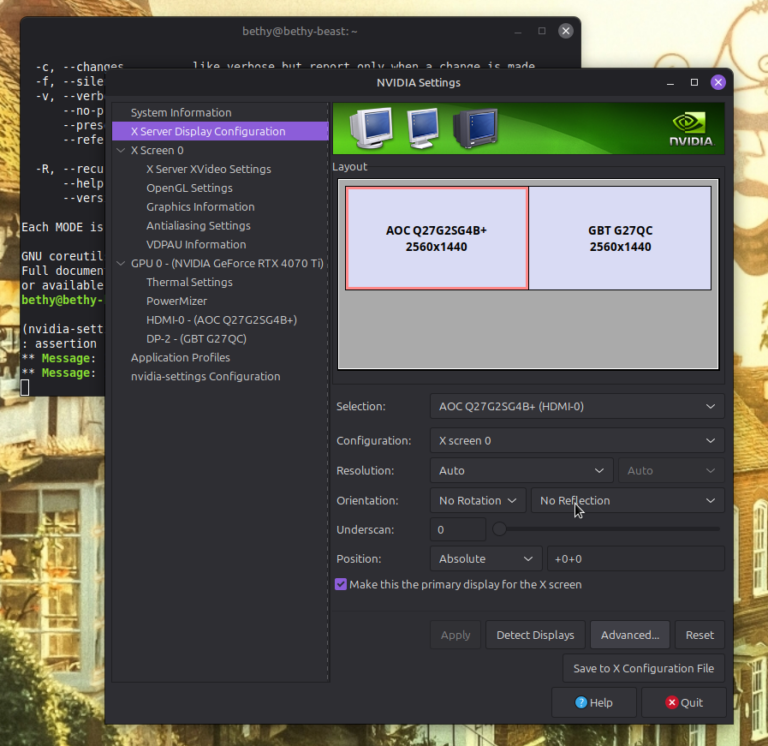
Go to “X Server Display Configuration”, select your monitor(s), and hit the “advanced” button to hopefully see some extra options (if you don’t, it may not be available on your system) –
Tick “Force Composition Pipeline” and “Force Full Composition Pipeline”
Hit “Save to X Configuration File” and then exit.
Hopefully, that will help resolve that issue 
Note: on my laptop which also runs Linux Mint, I didn’t have any “Force Piplines” options under “advanced”. I am not sure why, but I assume it may be to do with limitations of my graphics card. Simply un-ticking “allow flipping” made a huge difference by itself!


Linux on Laptops: SSDs and Graphics
This one is a niche topic for simmers who are playing on Laptops. Gaming on laptops is comfortable, I get it, but to all of you – for actual gaming performance, just get a desktop PC. It’s better.
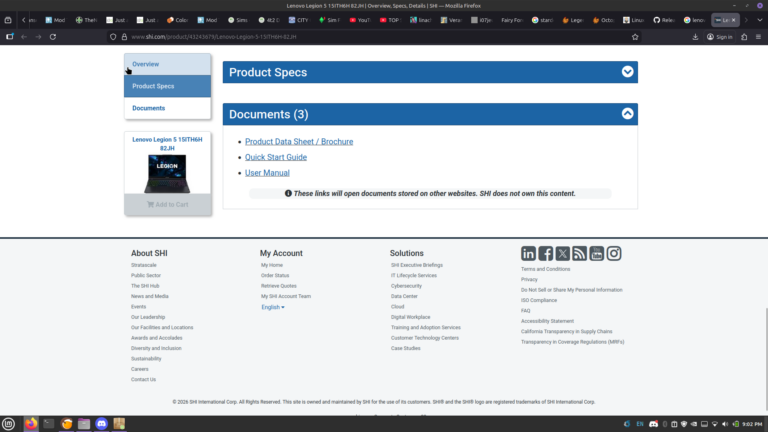
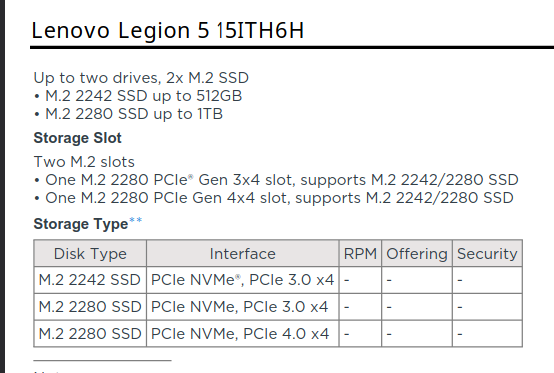
So firstly: SSDs. Yes, you can install Linux onto an external SSD, plug it into your laptop, and play from there. The danger is, USB’s can get knocked out. A lot of Laptops will actually have space for a second storage drive (SSD) – the easiest way to find out is to Google your exact laptop model and brand, look at the hardware specifications, and see if the motherboard has one or two storage drive slots.
If a second slot exists, a professional, will be able to install a second SSD fairly quickly, and advise you on a compatible type and brand of SSD to purchase.
I repeat that I do not recommend partitioning an existing Windows Drive to run Linux side by side. They don’t tend to play nice together sharing a drive, so always aim to use a separate SSD drive if you can, either external or internal.
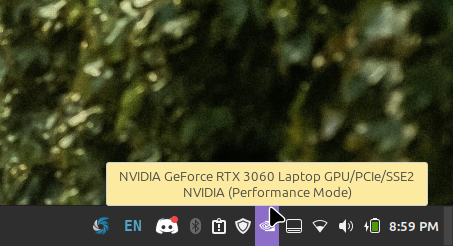
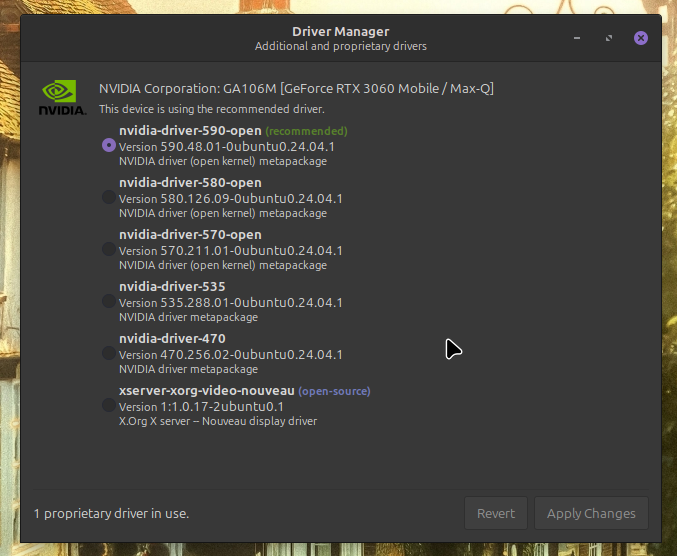
Most gaming Laptops will have 2 options for graphics: on-board graphics which run most graphical tasks, and then a dedicated Graphics Card (GPU) for gaming. On Linux, it is essential to check this setting and make sure that your dedicated GPU is being used for gaming.
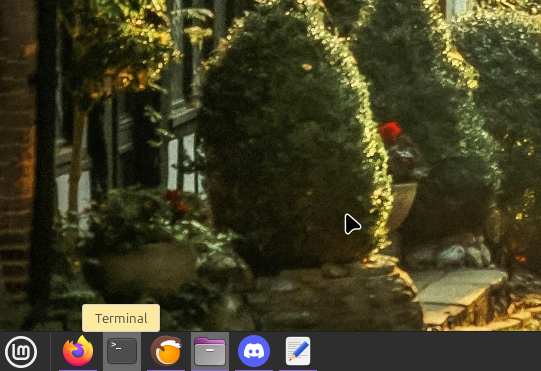
I am not sure what the icon would look like for Intel / AMD graphics, but in any case there should be a small icon in the bottom right corner of your taskbar, which in my example is the NVIDIA icon (next to the updates shield) which opens a menu to allow you to control which Graphics Device is being used. I recommend using either “GPU on demand” or, even better, “GPU all the time Performance Mode” so that your Laptop just uses the dedicated GPU for everything.
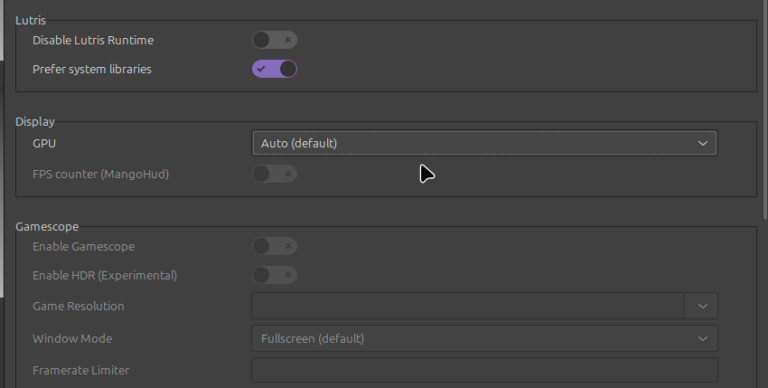
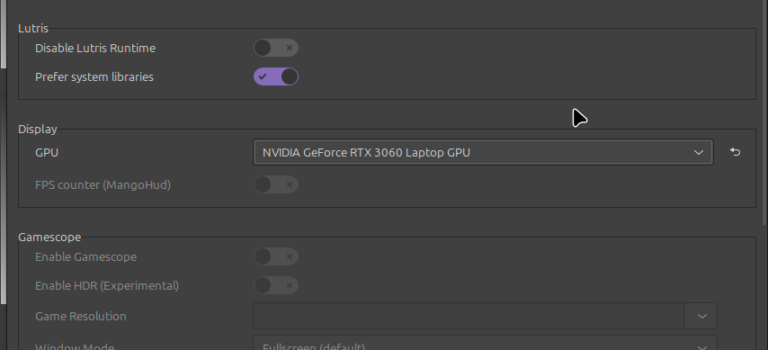
In Lutris, you can also fine-tune this setting by right-clicking on a game and selecting “Configure”, going to the final tab called “System Options”, and looking in the second box “Display” at which option is selected for GPU: Auto, on-board, or dedicated GPU.
This will definitely improve your experience of playing The Sims 2 on Linux.